The Vehicles page is used for managing and adding new vehicle keys or codes to your account and modifying vehicle details on the SmartFill portal. All of your vehicles are displayed in the table. To modify the details for a vehicle, click in the cell to edit the contents.
You can find more advanced vehicle settings in the Configure Vehicles section.
It’s best practice to make sure you edit columns prior to adding vehicles, so all necessary details are captured in this step.
Note: If you do not currently have any Vehicles assigned to your account, you’ll need to click “Add” to find the “Vehicles” button.
Adding a Vehicle
- Click Vehicles to navigate to the Vehicles page.
2. Click Add Vehicles.

3. Select the Input Type. This is the method of authorisation you’d like to use.
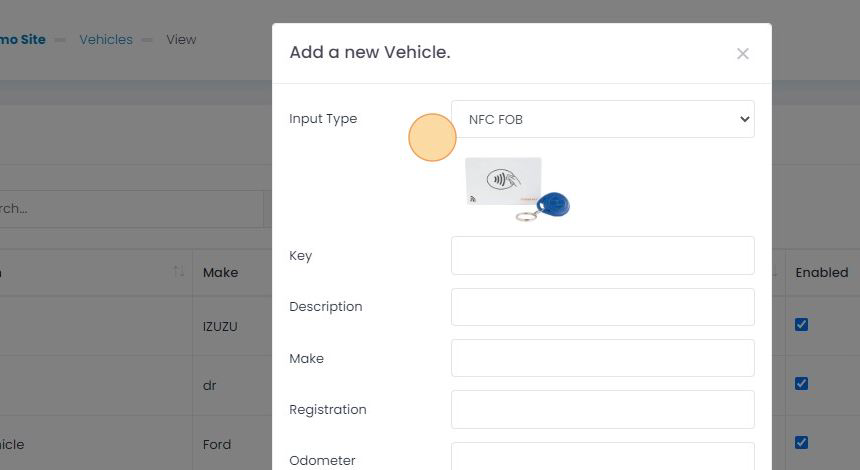
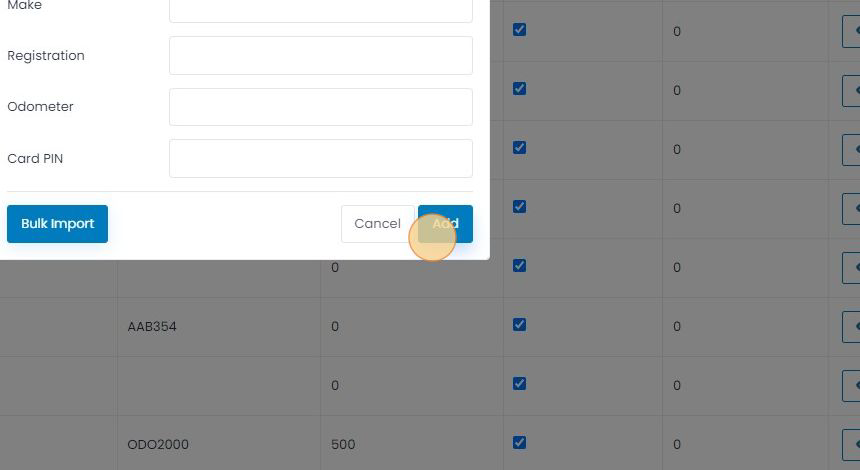
4. Fill out the form with the details related to the Vehicle then click Add to save.